INSTRUCTIONS TRX450R Frame
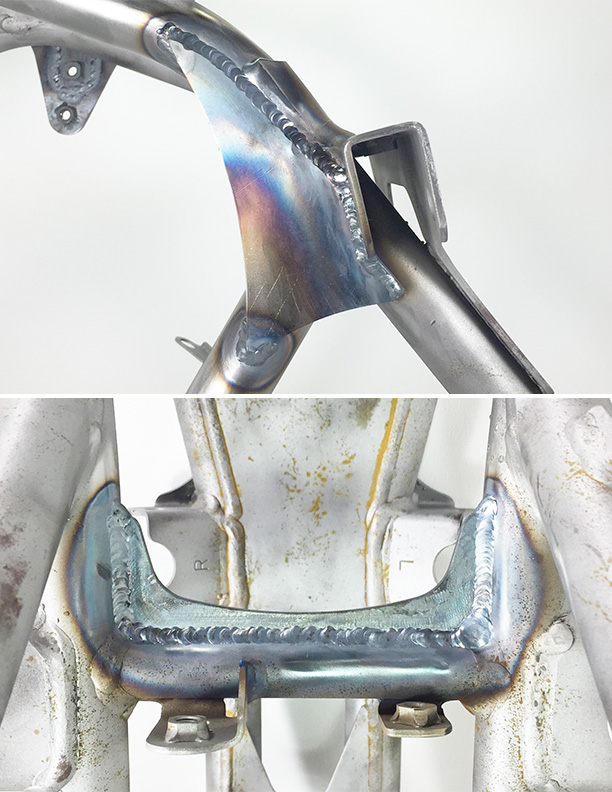
Gusset kit
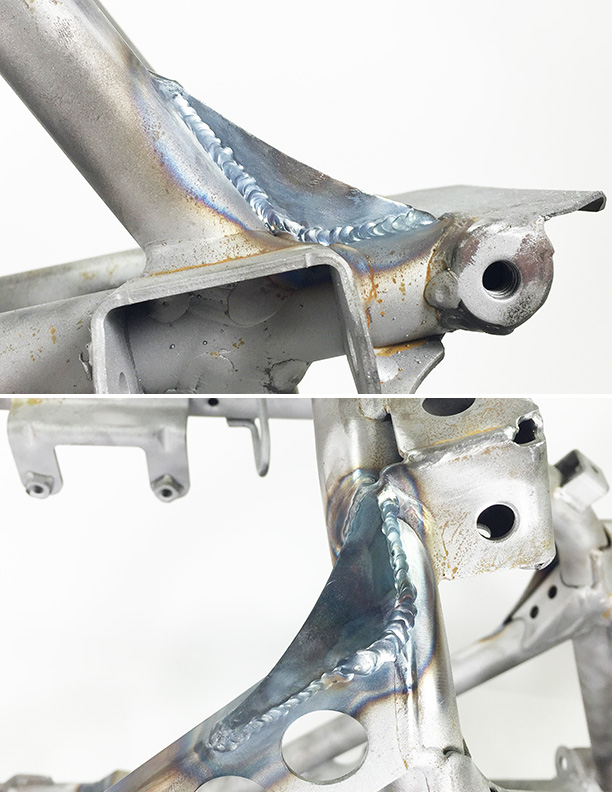

Coil mount is for 2004-2005
TRX450R Lowering Kit is recommended to be installed by WALSH Race Craft, WALSH Race Craft cannot guarantee the outcome of installation done elsewhere
WALSH TRX450R Lowering kit parts; 2 Radiator upper brackets, 2 radiator lower brackets, 2 fuel tank rear brackets & gussets, 2 dzues tabs, 2 dzues buttons, 2 dzues springs, 4 rivets, 4 rivert washers, 1 subframe, 2 pro-pin’s, 1 fuel tank, 1 tank/seat washer, 2 fuel tank front brackets, 2 6mm rear fender bungs, 2 front fender brackets, 1 muffler mount, 1 recovery bottle
Other specific parts needed; 2008-2014 Pecock assembly 16950-HP1-A01
*2004-2005 Air box needs modification to fit subframe
*2) 3/16” rivets on kicker side of rear fender
) Remove the plastics, engine heat shield, fender brackets, fuel tank, subframe, radiator and disconnect CDI box
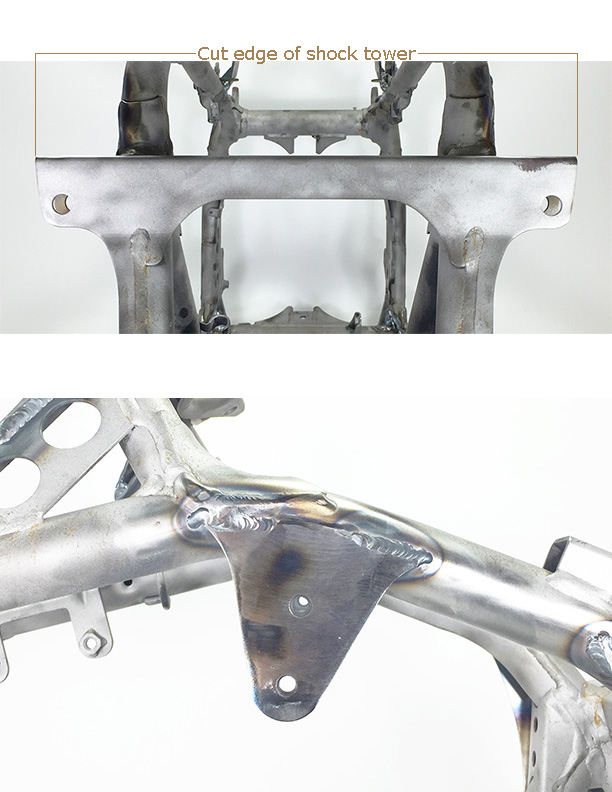
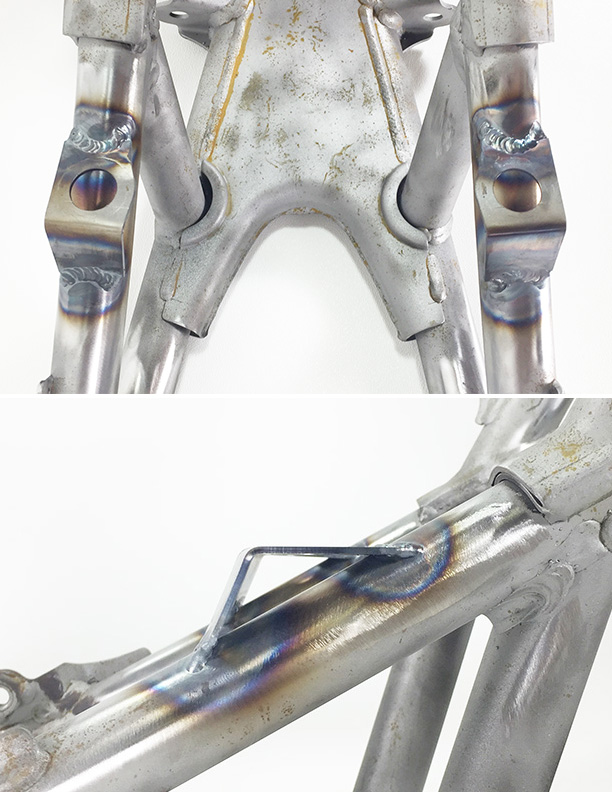
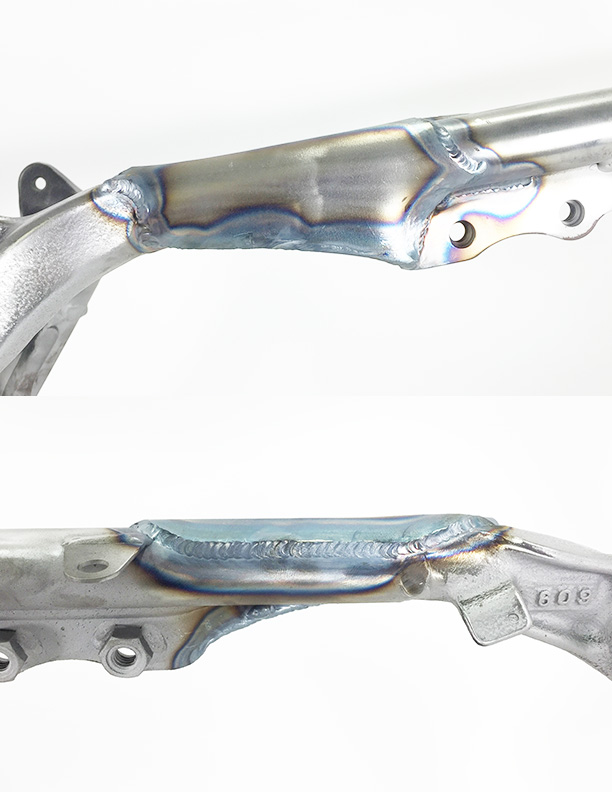
) Trim front shock tower outer portion
) Remove OEM radiator lower mounts
) Install rubber grommets (OEM) in fuel tank front brackets (WALSH)
) Bolt (OEM) fuel tank front brackets to fuel tank
) Bolt (OEM) fuel tank front brackets to frame
) Place 1/4” spacer on top of carburetor to set the rear height of the fuel tank
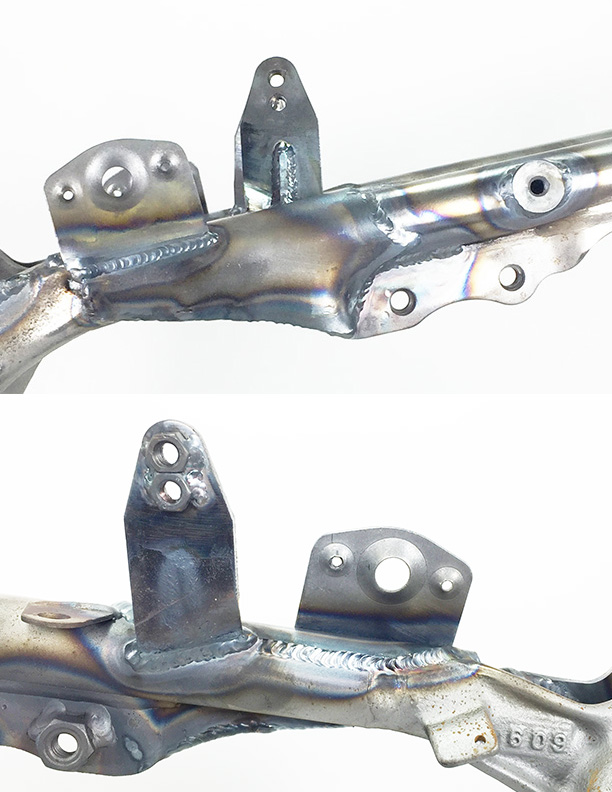
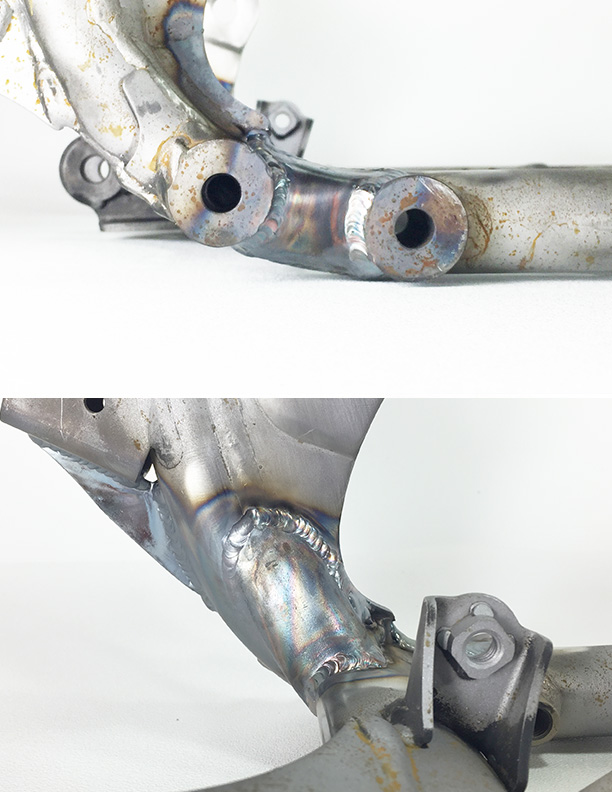
) Bolt () fuel tank rear brackets to fuel tank rear mounts, adjust the brackets so they are touching the frame rail and weld to frame
) Weld gusset in the center of the fuel tank rear bracket
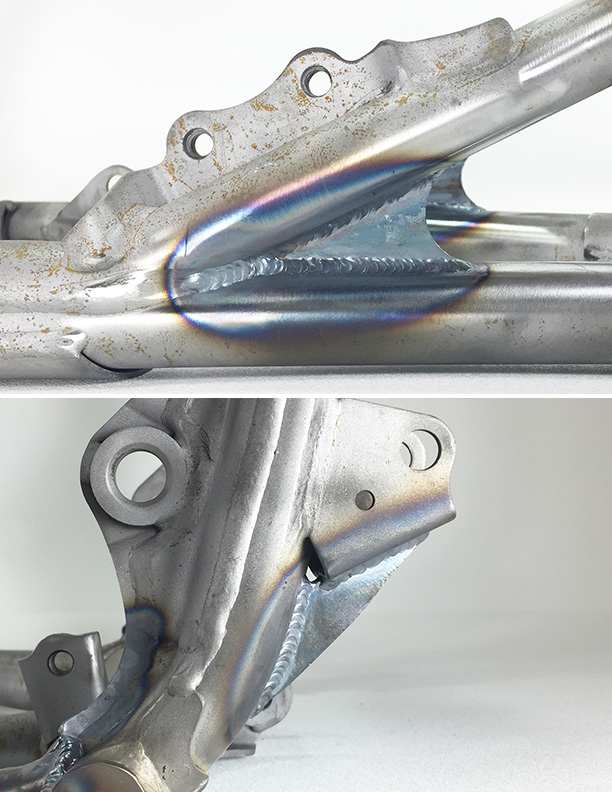
) Place radiator upper brackets around OEM mount, secure/clamp in place and weld WALSH bracket to OEM mount
) Bolt (OEM) radiator upper mounts to newly installed WALSH bracket
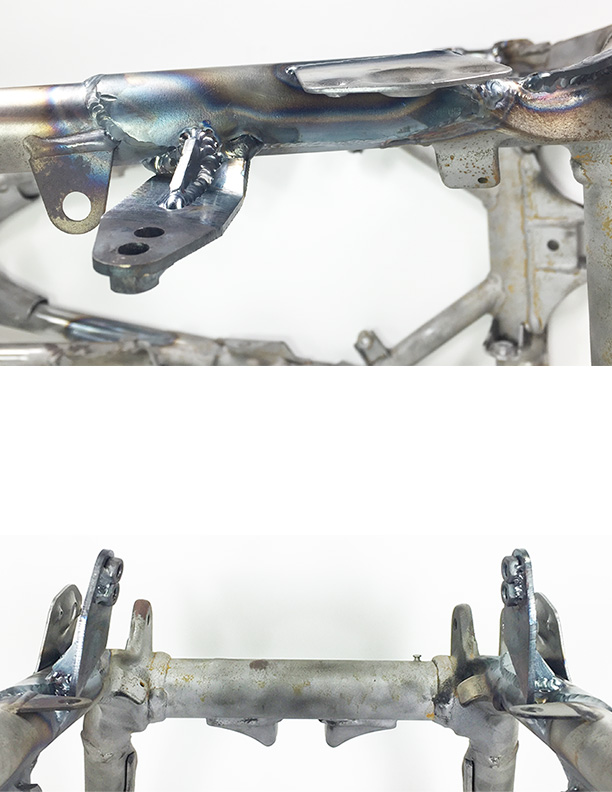
) Place radiator lower mounts on radiator and tack into place on frame, remove radiator and rubber grommets before fully welding
) Install fuel tank, plastic gas tank cover (make sure the tank cover is all the way back for proper alignment of ‘filler neck’ and plastic) front plastics and subframe, as well as grab bar, fender brackets and kick starter.
) Trim front lower mounts on plastic gas tank cover to fit into position, as well as front lower fender to clear suspension.
) Rear plastics will need to be trimmed to clear kick start area as well as the rear of the rear plastics for the Pro-Pin Seat Receptacles. Rear fender cross strap will also need to be removed to clear air intake boot (mock up all fenders and trim to fit)
) Install air intake boot and trim the top of the air box to clear the seat pan. (Walsh Front Seat Post Mounts on subframe will need to be placed in the middle to upper position for proper seat fitment, bottom rear of air box should also be trimmed to clear rear brake caliper)
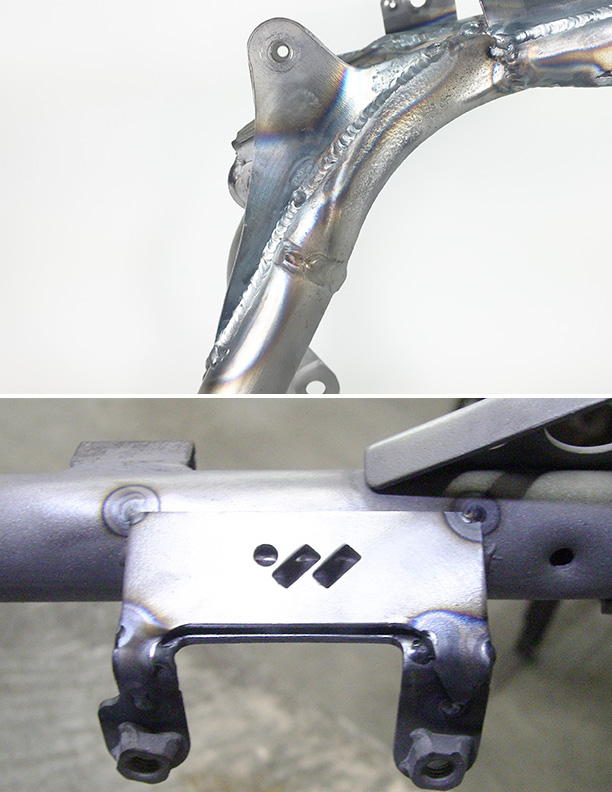
) When plastics are fitted to the frame, tack on the supplied 6mm bungs on frame rail to mount the front of the rear fender to the frame rail in place of the old ‘push in’ rubber mounted heat shield clips, drill fender to secure fenders to frame.
) Position and tack the supplied dzues tabs at the rear of the frame to further secure rear plastics to frame around kick starter area on both sides of the quad.
) Remove plastics and complete welding of fender mounting tabs.
) Drill mounts for recovery bottle, horizontally in the center of front shock tower or inside of right radiator shroud